
Rising Damp Device Supplier: Buying Direct Without a Wholesaler
September 8, 2026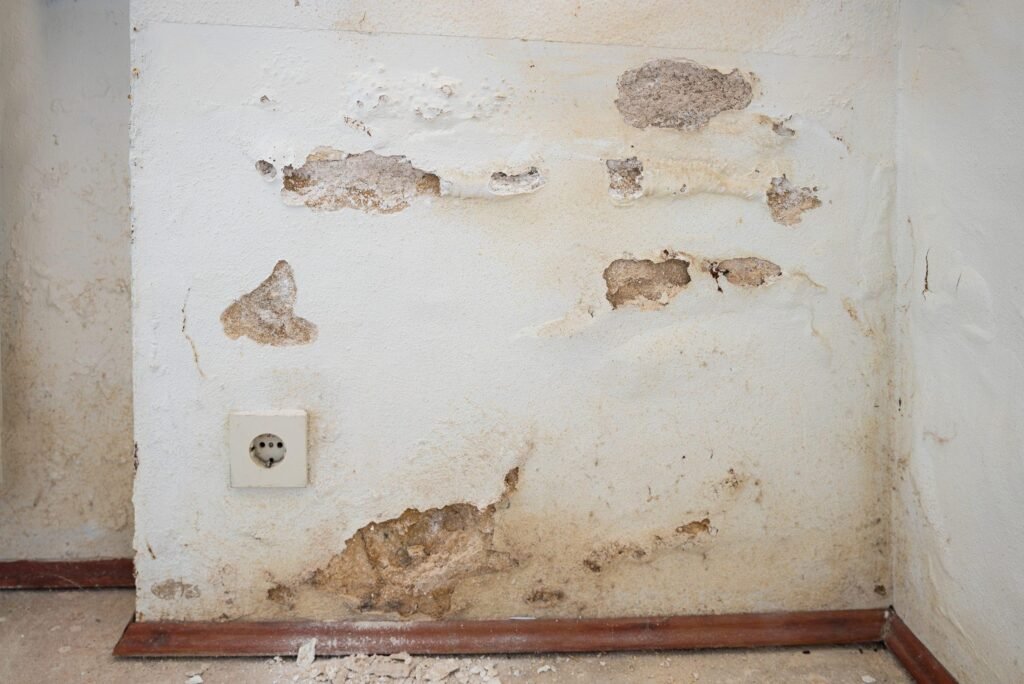
Polarity inverter installation looks simple on paper, and it genuinely is. Yet most disappointing jobs come down to a positioning mistake, never to the unit itself. Here are the points that decide the outcome, and the ones that cost you a client.
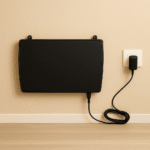
Polarity inverter installation requires four conditions: a damp load-bearing wall, a fixing at floor level at the centre of the affected area, direct contact with the masonry with no lining in between, and a permanently available earthed socket. No drilling and no side works are needed.
Polarity inverter installation: the four conditions
A load-bearing wall, never a partition
The phenomenon concerns elements that rest on the footings. So an internal partition carries no ground water, therefore it serves no purpose as a support.
A flat, accessible surface
The unit must sit flush against the background. Consequently, look for an area with no thick skirting, no conduit and no fitted furniture.
An earthed socket nearby
This point can make or break a quote. Check it during the survey, not on installation day.
The real distance to cover
Measure from the installation point to the furthest affected wall. The radius of action matters, not the floor area.
Polarity inverter installation on a dry-lined wall
Why lining causes the problem
Plasterboard, a stud wall or internal insulation move the unit away from the masonry. Yet the structure is what must be reached, not the surface finish.
The solution on site
Remove the lining across the installation area, over a width sufficient to sit the unit flat against the load-bearing wall.
What to explain to the client
Many homeowners refuse to open new lining. So state this constraint before signing, never during the work.
The side benefit
Removing lining low down restores evaporation at the wall surface. As a result, drying progresses faster.
Choosing the model for the building
This is where the final result is decided, therefore your peace of mind after the job.
The ATE LC15 covers fifteen metres in diameter, so seven and a half metres of radius around the fixing point.
The ATE LC30 reaches thirty metres in diameter. It remains the most common choice for a detached house.
The ATE MAX rises to sixty metres in diameter and targets apartment blocks, older buildings and commercial premises.
Be careful with long narrow buildings. Indeed, an eighty square metre cottage can exceed a small model’s radius from one end to the other.
ATE or ATG: how to choose
The ATG range runs without an electrical supply. However, the ATE always takes priority.
You select an ATG only where fitting an ATE proves impossible, meaning where no permanently available earthed socket exists.
Note as well that the Nexio and Emitech laboratories validate the EMC standards for the ATE range. That point reassures the more technical clients.
Polarity inverter installation: mistakes that cost you a job
Fixing in a corner
A unit placed in a corner loses half its radius beyond the building. So the real coverage drops by half.
Fixing too high
Water concentrates in the lower part of the wall. A fixing at head height moves the unit away from the area to treat.
Leaving a board between unit and wall
Even a few millimetres of finish break the contact. Yet this detail becomes invisible once the installation is complete.
Using a switched socket
A switch turned off every evening cancels the effect of a constant field. So check the circuit, not just the presence of a socket.
Leaving sealed finishes in place
Cement render, impermeable paint or bonded tiling low down block evaporation. Consequently, water climbs higher instead of leaving the wall.
Extra work to price alongside the polarity inverter installation
These items speed up the result noticeably, and they are chargeable.
Strip sealed finishes low down on the treated walls. That work governs how fast the wall dries.
Remove lining across the affected areas, so air can move against the masonry again.
Then fix outside water sources: a broken gutter, a downpipe discharging at the base of the wall, a blocked gully, ground sloping towards the façade.
Finally, leave the wall bare for several months before any finish. Closing it too early traps residual moisture beneath the new covering.
What the unit does not treat
Stating the limit protects your reputation, therefore your turnover.
The range treats rising damp, meaning water climbing from the ground. See the rising damp page.
It treats neither penetrating damp, nor flooding, nor surface mould. Those problems belong to weatherproofing or to ventilation.
A client who is promised the impossible comes back to complain. By contrast, a clearly stated scope prevents disputes.
The timeline to announce, and how to hold it
After a polarity inverter installation, this is the main source of misunderstanding.
When the installation guidance is followed, improvement generally shows between eighteen and twenty-four months. That timeline depends on the initial level and on wall thickness.
Give your client a way to follow progress. Marking the upper edge of the mark in pencil, at three dated points, is enough.
Warn them about one misleading effect. As water evaporates, it leaves its salts at the surface, so a wall that is improving may look temporarily whiter.
What to leave with the client
A properly closed job limits later phone calls.
Hand over the manual and remind them never to switch the socket off. That is the leading cause of returns.
State the real running cost, around fifteen euros of electricity a year, with no servicing and no consumables.
Mention the ten-year manufacturer’s warranty and leave the exact reference of the model fitted.
The explanatory sheets supplied by Help Humidité Pro can go into your handover file.
Frequently asked questions
Can a polarity inverter sit behind dry lining?
No. The unit must touch the load-bearing masonry. So the lining has to come off across the installation area.
Does the wall need drilling?
No. Installation needs neither drilling, nor chasing, nor making good afterwards.
Is one unit enough for a whole house?
That depends on the distance to cover, not on the number of rooms. Measure to the furthest affected wall before choosing.
What if there is no earthed socket?
Have a compliant socket installed where possible. Otherwise an ATG becomes the fallback, since the ATE remains the default choice.
How long does the installation take?
The fixing itself takes a few minutes. The extra work, removing lining and sealed finishes, accounts for most of the time.
In short
Polarity inverter installation rests on four simple conditions and on one point that gets overlooked too often: direct contact with the load-bearing masonry. Lining left in place is enough to compromise a whole job.
Check the earthed socket during the survey, measure distance rather than floor area, price the removal of sealed finishes, and announce the eighteen to twenty-four month timeline. To order, use the trade shop or open an account through the reseller page.


